
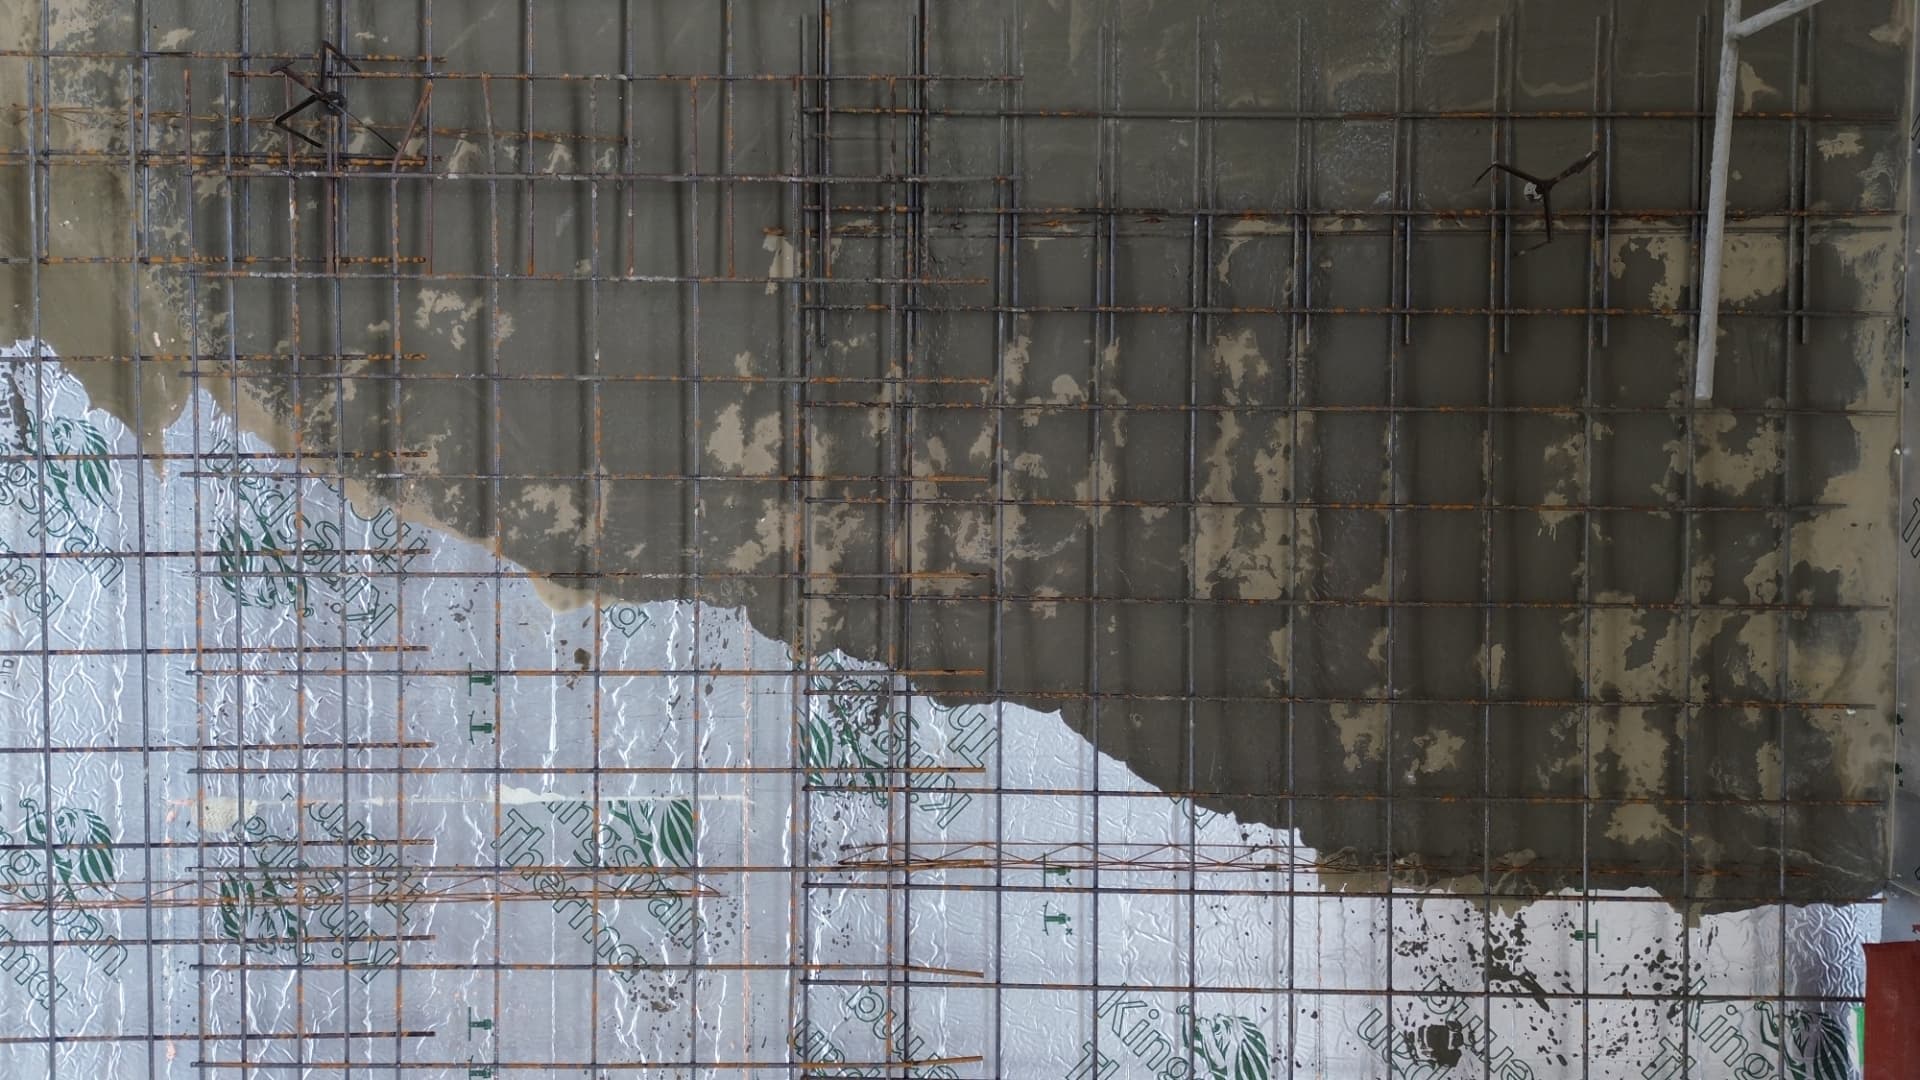
Site preparation guide.
Proper preparation is the single biggest factor in a successful screed pour. Follow these steps before our fleet arrives on site.
Before we arrive.
Sub-base preparation
Ensure the structural sub-base is level, compact and free from frost, standing water or loose material. A sound base is essential before any insulation or membrane is installed.
Insulation & damp-proof membrane
Lay insulation boards to the specified U-value. Install a suitable DPM where required, taping all joints and sealing around penetrations to prevent moisture ingress.
Underfloor heating placement
Fix UFH pipework at the correct centres and test under pressure before the screed pour. Pipes should be fully pressurised during screed placement to avoid displacement.
Perimeter & movement joints
Install edge insulation strip around the full perimeter and isolate columns, drains and fixed objects. Mark any required movement joints clearly on site.
Final checks before pour
Confirm access for the mixing truck, pump route and pour sequence. Provide a clean water supply and a safe washout area. We recommend a pre-pour walk-through with our team.
Download the full guide
A printable PDF checklist for site managers, installers and homeowners. Share it with your build team before pour day.
Download Prep Guide · PDF 2.3 MBTLA preparation, floor screed preparation and aftercare.
Call the technical team on 01 624 0004 before you close up the floor.
On the day of the pour
Have these ready and the pour runs to programme.
- Clear vehicle access for the truck and a route for the pump hose
- A clean water supply and a safe, agreed washout area
- UFH pipework pressurised and holding
- Perimeter edge strip fitted to every wall
- Doorways and penetrations closed off ready for a liquid pour
- Someone on site who can sign off levels before we start
Ready to book your pour?
Send us the area, depth and system and we will come back with a price and a date.